This could be the start of something...
Sunday 26 July 2015
A Sunday Sail
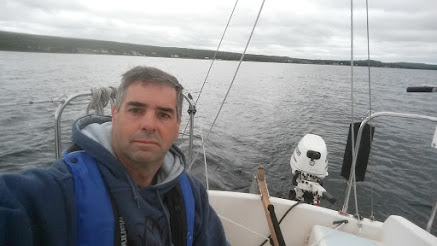
A little experiment. While out for a relaxing harbour sail, I decided to try shooting a video with my phone.
This could be the start of something...
This could be the start of something...
Sunday 19 July 2015
Slot Cover Check
It was a cool and overcast Sunday afternoon, but the winds were light. That made it a great opportunity to check the modification to the mast slot gate. Other things on the boat could be done as well, like running the reefing lines.

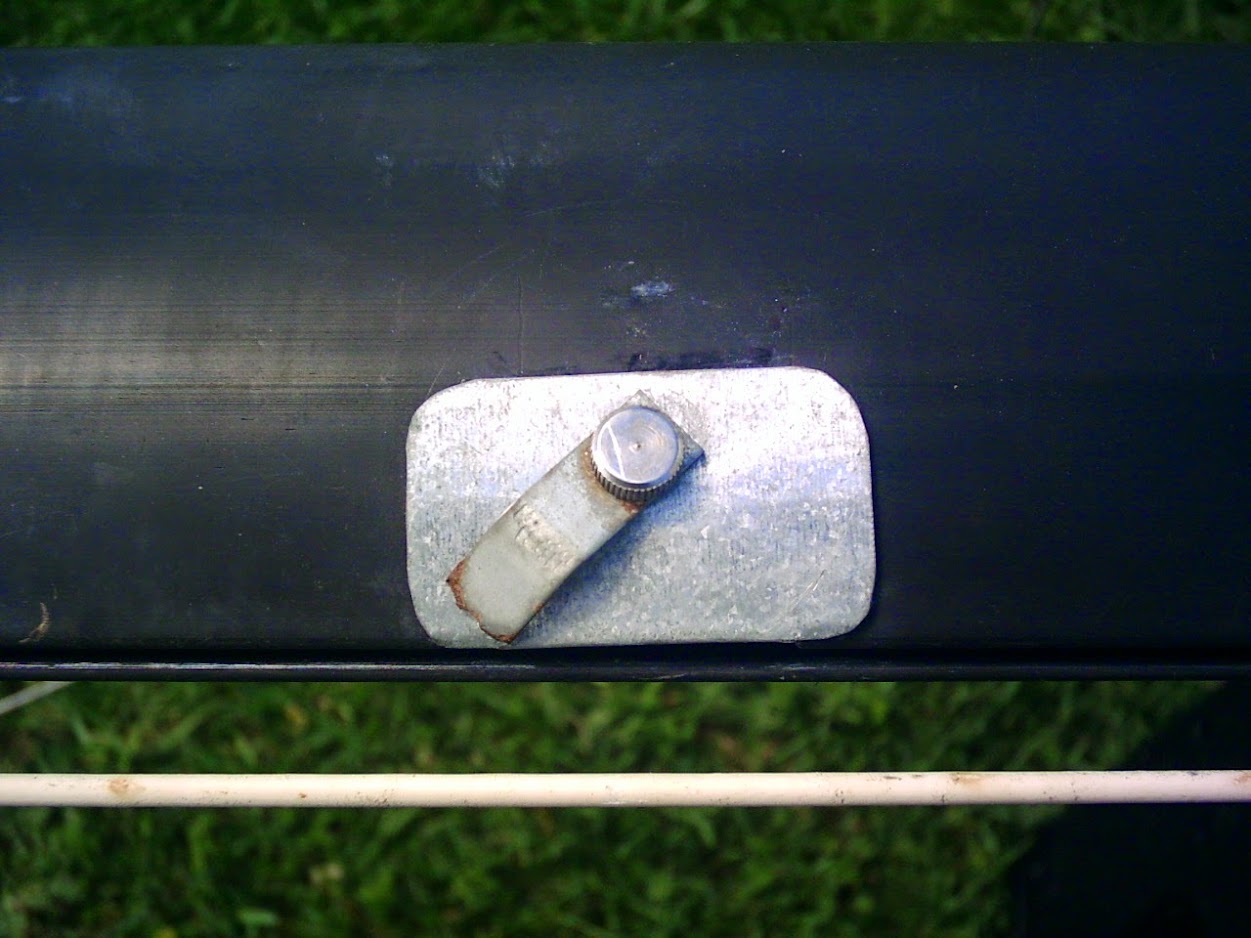
Result? The change to the cover is a success. Raising and lowering the main sail is much smoother now. The slides still get stuck occasionally, but I'm very close to finally having this issue solved.

Once the cover has the excess metal trimmed away, and made a bit better looking, the slides catching should be eliminated. After that the attachment holes will be retapped, and two small stainless bolts will replace the brass screws.
It was an enjoyable and successful couple of hours on the water.
Result? The change to the cover is a success. Raising and lowering the main sail is much smoother now. The slides still get stuck occasionally, but I'm very close to finally having this issue solved.
Once the cover has the excess metal trimmed away, and made a bit better looking, the slides catching should be eliminated. After that the attachment holes will be retapped, and two small stainless bolts will replace the brass screws.
It was an enjoyable and successful couple of hours on the water.
Tuesday 14 July 2015
Keel Rust Repair - Take 2
Serenity has an iron keel which can rust, and must be protected from the air and salt water. Back in 2007 I coated the keel in POR-15. Perhaps my preparation was flawed, or not enough coats were applied, but after a couple of years rust started to bubble through the antifouling.

I'd just pressure wash off what I could, and cover it up with antifouling paint to get another season. After a while the amount of iron being lost became a concern, and it was time to tackle the job from scratch again.

Doing some "research", I came across a different product called Rust Bullet. It wasn't in stock at the local marine store, so a week of waiting was required for it to be shipped in. In the meantime I did some other odd jobs on my boat, and helped out on boats at the marina. It was also a good time to get a head start on grinding the keel.

Not wanting to have to repeat this job any time soon, I took the grinder to the iron ballast three times in total. There was as much exposed metal as I could uncover, and it was looking a good deal smoother. Then I scraped a wire brush over everything, and wiped it with a dry shop cloth. From there three coats of Rust Bullet were applied, after waiting at least four hours between them.

There were a few bumps in the surface from blown dust, dead flies, or whatever, so I decided to do a sanding before the final coat. The instructions recommended letting the product setup for 72 hours before doing any smoothing, so it sat like that for three days.
When sanding time came, I'd been late getting home from work and we were having occasional showers. During a break between the precipitation, some supplies were found, and I crawled back under the boat where it was still dry.
The first job was to knock down the high spots with a scraper. Then, from my limited inventory, a course belt from a sander was used. To finish it off, a mesh sanding strip was placed in a block and everything given a good going over. It was looking pretty nice at this point, and ready for more paint, but daylight was fading.
At my next opportunity, two more coats were applied, for a total of five. Once dried a few hours, the boat was towed down to the marina. While waiting a day for the final coat of Rust Bullet to dry, the mast was stepped, engine and rudder attached, and various other little jobs completed.

The next day, while on lunch break from work, I bent on the sails, and generally got the boat ready to launch. That evening, the scant amount of green antifouling remaining in the old can was used up patching the upper edge, while the new blue antifouling paint went over the freshly sealed iron keel. No one would see the clashing colours once it was in the water, and the green will all be scraped off when the boat comes out.
Launching the next day didn't go smoothly, as per norm. The nut fell off the jack wheel somewhere along the way, and the bolt slipped out on the ramp, essentially acting like a flat tire. Someone had a small hose clamp we used to hold it in place to finish launching. After checking the boat for leaks, and making sure the motor was working properly, we moved over to the dock.

Next up, tuning the rigging, and making the boat ready for sailing and living aboard.
I'd just pressure wash off what I could, and cover it up with antifouling paint to get another season. After a while the amount of iron being lost became a concern, and it was time to tackle the job from scratch again.
Doing some "research", I came across a different product called Rust Bullet. It wasn't in stock at the local marine store, so a week of waiting was required for it to be shipped in. In the meantime I did some other odd jobs on my boat, and helped out on boats at the marina. It was also a good time to get a head start on grinding the keel.
Not wanting to have to repeat this job any time soon, I took the grinder to the iron ballast three times in total. There was as much exposed metal as I could uncover, and it was looking a good deal smoother. Then I scraped a wire brush over everything, and wiped it with a dry shop cloth. From there three coats of Rust Bullet were applied, after waiting at least four hours between them.
There were a few bumps in the surface from blown dust, dead flies, or whatever, so I decided to do a sanding before the final coat. The instructions recommended letting the product setup for 72 hours before doing any smoothing, so it sat like that for three days.
When sanding time came, I'd been late getting home from work and we were having occasional showers. During a break between the precipitation, some supplies were found, and I crawled back under the boat where it was still dry.
The first job was to knock down the high spots with a scraper. Then, from my limited inventory, a course belt from a sander was used. To finish it off, a mesh sanding strip was placed in a block and everything given a good going over. It was looking pretty nice at this point, and ready for more paint, but daylight was fading.
At my next opportunity, two more coats were applied, for a total of five. Once dried a few hours, the boat was towed down to the marina. While waiting a day for the final coat of Rust Bullet to dry, the mast was stepped, engine and rudder attached, and various other little jobs completed.

The next day, while on lunch break from work, I bent on the sails, and generally got the boat ready to launch. That evening, the scant amount of green antifouling remaining in the old can was used up patching the upper edge, while the new blue antifouling paint went over the freshly sealed iron keel. No one would see the clashing colours once it was in the water, and the green will all be scraped off when the boat comes out.
Launching the next day didn't go smoothly, as per norm. The nut fell off the jack wheel somewhere along the way, and the bolt slipped out on the ramp, essentially acting like a flat tire. Someone had a small hose clamp we used to hold it in place to finish launching. After checking the boat for leaks, and making sure the motor was working properly, we moved over to the dock.

Next up, tuning the rigging, and making the boat ready for sailing and living aboard.
Tuesday 7 July 2015
Mast Slot Gate Evolution
There is an opening in Serenity's mast, about half a meter above the boom, for feeding the main sail slides into the slot, and it has been a source of aggravation since I have owned the boat.
The gate/cover the vessel arrived with was just thin plastic with a narrow metal bar and a single screw holding it all in place. It was next to useless on anything but the most windless of days. Whether raising or lowering the sail, the slides would pop out. This often left me struggling to get the main up, or dealing with sail all over the deck.
After a season or two with that, I used some galvanized metal, to cut a suitable piece and tried that as a cover, using the same screw and strip as the plastic had. It was better, but still would not keep the slides in place with very much wind blowing.
Two years ago I bought a small piece of aluminum, shaped it to the mast, and tapped holes for two screws. This was the best and most solid solution. Then I had the main sail refurbished, and new slides put on. These slightly different slides liked to catch on the opening under cover, once again making raising and lowering a struggle.
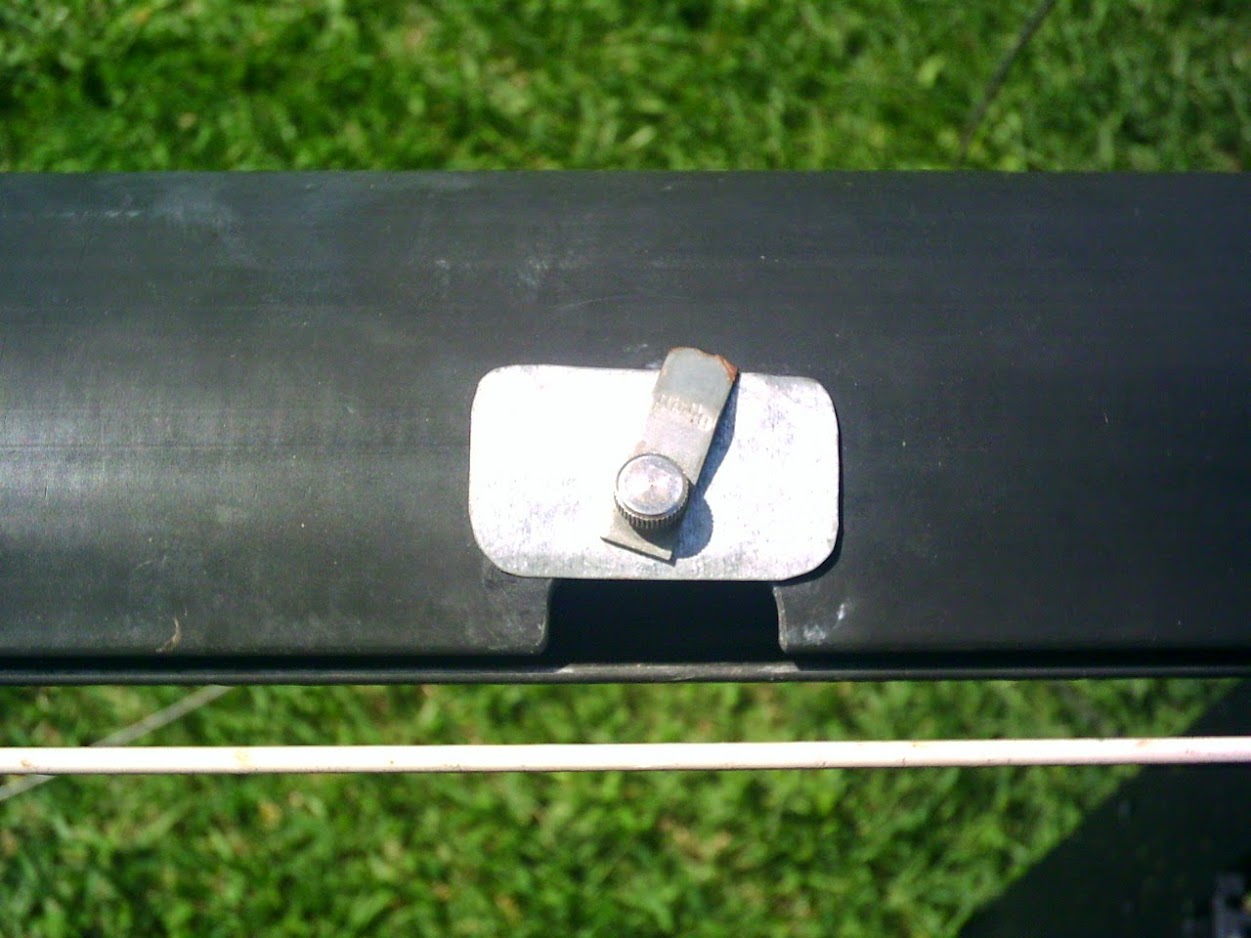
One of my jobs for this year was to modify the cover to allow the slides to slide more freely. What I did was make two cuts into the plate, and bend it into the opening until the inside edge lined up with the inside edge of the slot.

This is currently untested since the mast has not been stepped yet this year. If it works, I'll improve the look of the plate and call the job finally done. Watch for a follow-up in a few weeks.
The gate/cover the vessel arrived with was just thin plastic with a narrow metal bar and a single screw holding it all in place. It was next to useless on anything but the most windless of days. Whether raising or lowering the sail, the slides would pop out. This often left me struggling to get the main up, or dealing with sail all over the deck.
After a season or two with that, I used some galvanized metal, to cut a suitable piece and tried that as a cover, using the same screw and strip as the plastic had. It was better, but still would not keep the slides in place with very much wind blowing.
Two years ago I bought a small piece of aluminum, shaped it to the mast, and tapped holes for two screws. This was the best and most solid solution. Then I had the main sail refurbished, and new slides put on. These slightly different slides liked to catch on the opening under cover, once again making raising and lowering a struggle.
One of my jobs for this year was to modify the cover to allow the slides to slide more freely. What I did was make two cuts into the plate, and bend it into the opening until the inside edge lined up with the inside edge of the slot.
This is currently untested since the mast has not been stepped yet this year. If it works, I'll improve the look of the plate and call the job finally done. Watch for a follow-up in a few weeks.
Subscribe to:
Posts (Atom)